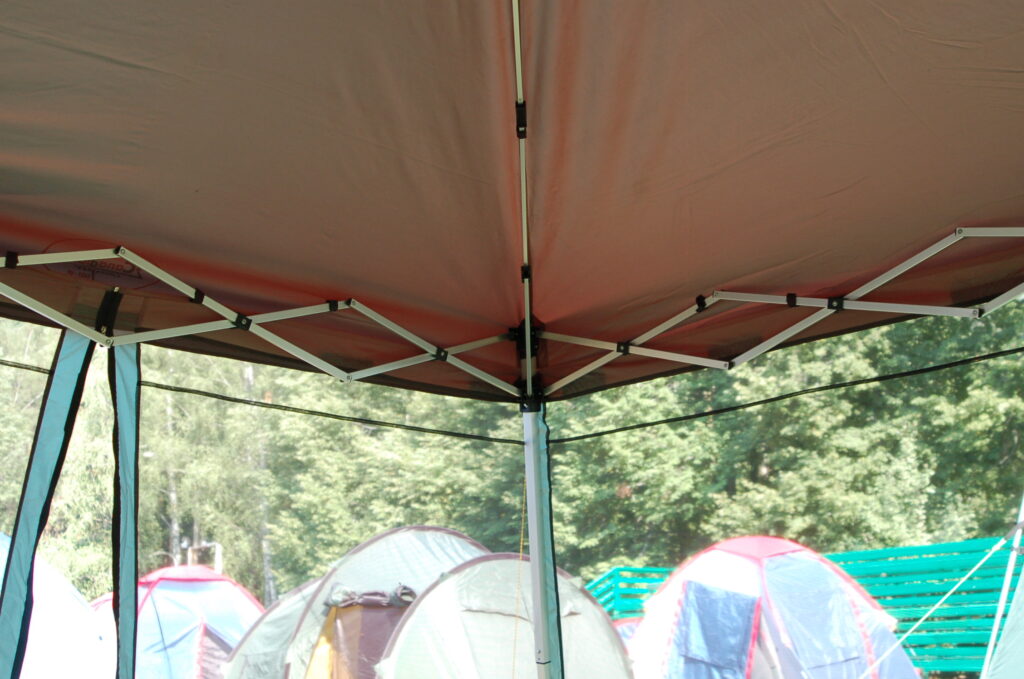
How to Repair a Ripped Canopy: Expert Step-by-Step Guide
A ripped canopy ruins outdoor fun. It weakens protection, ruins appearance, and reduces durability. Learning how to repair a ripped canopy empowers event hosts, homeowners, and rental services. This guide provides precise, tested, and professional repair steps anyone can follow.
Common Causes of Canopy Rips
Outdoor environments constantly test canopy durability. Several factors gradually wear down fabric integrity.
- Wind stress creates sharp tugs that tear weak areas.
- UV exposure weakens materials over time.
- Improper storage leads to moisture damage and mold.
- Physical abrasions from branches, poles, or sharp items cause instant tears.
- Frame pressure at joints can result in stress-induced fabric failure.
- Long-term usage causes fabric fatigue and thread decay.
- Manufacturing defects or poorly stitched seams often become early failure points.
Though the damage may seem severe, an early repair can save your canopy. Preventative awareness also reduces future issues.
Inspecting the Damage
Always inspect before repairing. Look at the fabric type, tear length, and location. Check whether the rip is linear, jagged, or hole-shaped. Inspect edges for fraying or burnt spots.
Identify canopy type: vinyl, canvas, polyester, or synthetic blend. This determines suitable canopy fabric repair methods. Assess the frame, too. Rips often result from tension in the metal frame or wear.
Tools and Materials Needed
Use the correct repair materials. Subpar tools lead to failed repairs or future damage. Canopy patching kits include swatches, adhesives, and sealants. Match the patch to your canopy fabric. Use UV-resistant thread and waterproof glue for enhanced durability. To repair the vinyl canopy, use vinyl cement.

- Scissors
- Rubbing alcohol
- Fabric clamps
- Brushes also help ensure smooth, lasting results.
Step-by-Step: Repairing Ripped Canopy Fabric
Step 1: Clean the Area
After rinsing, wash around the tear with quality cleaners and warm water to remove dirt and oil. Then, just let it air dry completely! Wet surfaces weaken adhesive strength.
Step 2: Cut the Patch
Cut a patch two inches wider than the rip. Round the patch corners to avoid peeling. Match the patch texture to the canopy grain for a smooth finish.
Step 3: Apply Adhesive
Use outdoor fabric glue or vinyl adhesive. Apply it around the tear’s edge and the patch back. Press the patch over the rip firmly. Smooth out air bubbles using a roller or heavy book.
Step 4: Let It Cure
Leave it undisturbed for 24 hours. Most glues require this time for maximum hold. Avoid folding, moving, or wetting the fabric during this curing phase.
Step 5: Reinforce the Repair
Stitch around the patch using UV thread. This step adds durability, especially in windy areas. Spray waterproof sealant over the patch. This step ensures long-lasting protection and weather resistance.
Specialized Fixes for Unique Canopy Types
- Gazebo canopy repair often involves removing fabric from fixed frames. Use ladders and caution.
- Repairing a vinyl canopy requires solvent-based adhesives. These form chemical bonds, unlike fabric glues.
- Fixing ripped tent fabric involves tension-aware repairs. Reinforce corners, tie points, and seams.
Avoid duct tape unless temporary. It fails under heat, moisture, and wind.
Large-Scale Canopy Damage Repair
Tears over six inches need reinforcement. Use double patches on both sides of the fabric. Incorporate stitches in an X-pattern across the tear. This resists pressure from multiple directions.
For structural tears near poles, remove tension first. Then, conduct repairs under relaxed conditions. For frame issues, replace bent joints or rusted sections to avoid recurring tears.
Preventative Canopy Maintenance
Routine care reduces damage risk. Clean your canopy after each use. Store in a dry, cool place. Moisture and UV light degrade materials. Apply UV protectant spray every season. This reduces fading and fabric weakening. Secure all anchor points tightly. Loose canopies flap, creating pressure points and rips. Inspect for weak spots monthly. Early detection avoids major canopy damage repair.
DIY Canopy Repair Tips
Do-it-yourself repairs offer cost-effective, quick solutions. A bit of preparation can prevent further canopy damage.
- Keep an emergency kit ready with glue, fabric swatches, scissors, and UV-resistant thread.
- Practice repairs on scrap fabric to improve your skill before working on the actual canopy.
- Label your patch kits clearly: separate vinyl, polyester, and canvas materials.
- Use clamps or binder clips to secure patches firmly while drying.
- Warm the adhesive slightly with a hair dryer, if product instructions allow, to speed up bonding.
With the right tools and some confidence, DIY canopy repair can be efficient and rewarding.
When to Consider Professional Help
Some damages need experts. Seek professional canopy repair if:
- The tear crosses seams or joints
- It involves electrical or lighting systems
- Multiple panels are ripped
- The frame is damaged
Professional services ensure structural integrity and aesthetics. Event-grade canopies must look flawless. Gear condition depends on your reputation.
Canopy Restoration
Beyond repair, consider a full canopy restoration.
- Recoat waterproof layers.
- Replace worn fasteners.
- Restore faded color using fabric-safe dyes or paints.
- Recondition vinyl with marine-grade polish.
- Polish metal frames.
- Replace missing eyelets or zippers.
A restored canopy enhances brand value, resale potential, and visual appeal.
Why Tent Rentals Should Care
Tears affect customer experience. Rentals must deliver flawless products. Staff should learn how to fix canopy fabric efficiently. Fast response reduces losses and increases client satisfaction. Every rental cycle exposes gear to stress. Routine canopy maintenance protects your investment. Offer repairs as a value-added service. Build authority and trust in your brand.
Conclusion
Knowing how to repair a ripped canopy saves money and extends equipment life. Follow this technical guide step-by-step. Stay prepared with tools, knowledge, and a proactive mindset.When in doubt, trust experts who specialize in canopy excellence. Need high-quality tents or expert restoration? Visit Giant Tents for premium rentals and support.

